Work through Part 1 in order. Parts 3 and 4 can wait until after your first booking arrives.
Your setup checklist
Tick each step off as you finish it. The steps below walk you through every one.
0 of 10 done
- Go to step
- Go to step
- Go to step
- Go to step
- Go to step
- Go to step
- Go to step
- Go to step
- Go to step
- Go to step
Your ticks are saved in this browser, so you can leave and pick up where you stopped.
Part 1: Core setupAbout twenty minutes
Everything in this part lives under Settings. Open it from your profile menu in the top right corner of the app; on the Settings page, each section below is listed in the menu on the left.
Profile
Fill in your name, business name, phone, and email. This is the contact information that appears on booking confirmations.
Save before moving on. If the save is rejected, the page tells you which field needs attention; a required field left blank is the usual cause.
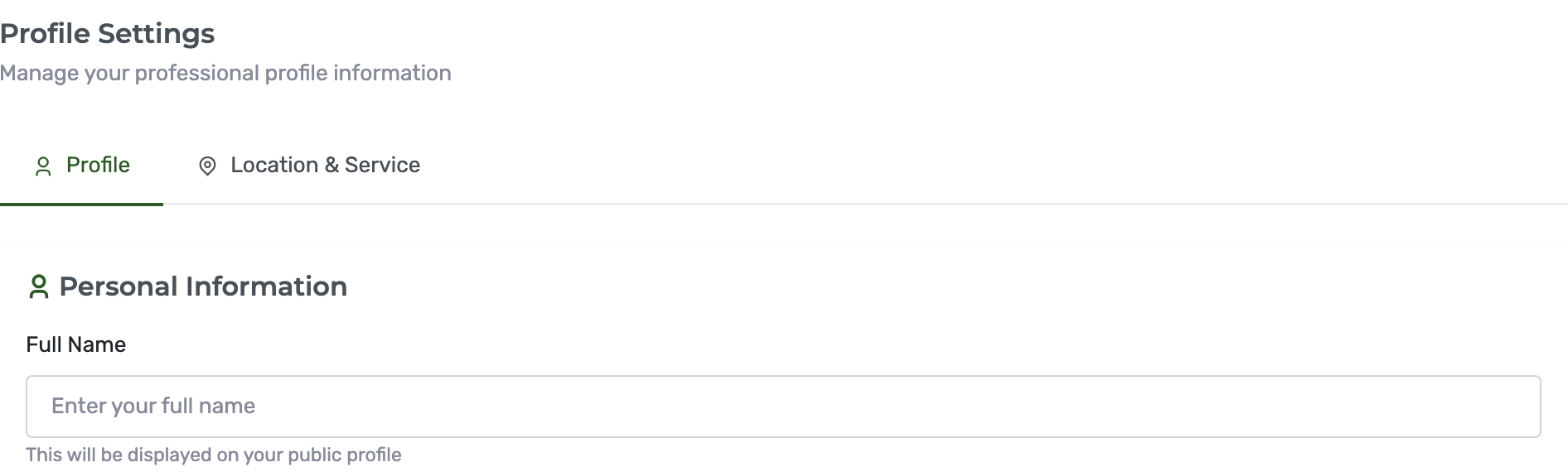
You'll know it worked: A green Saved confirmation appears in the corner.
Business hours
Set your open and close time for each day you teach, and mark the rest closed. Your booking page only offers times inside these windows, so this one setting controls what students can see.
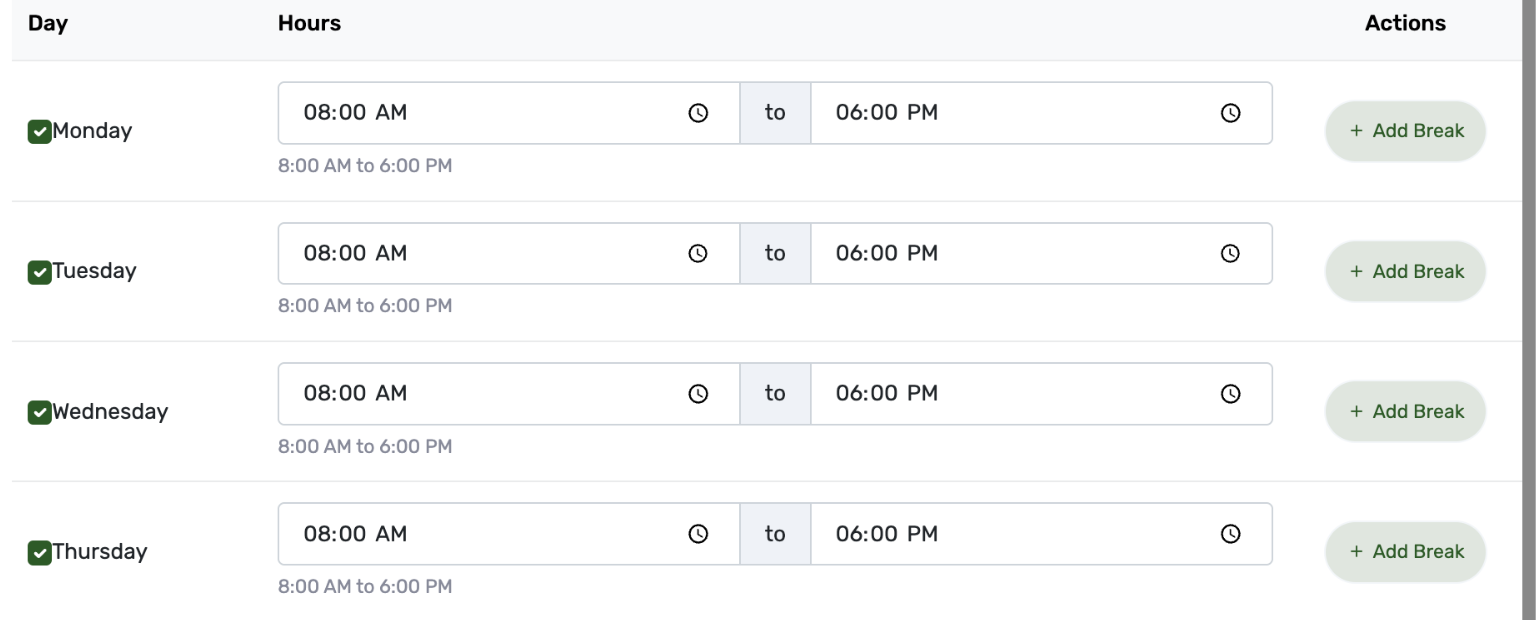
You'll know it worked: Each day shows its saved hours underneath, and your booking page only offers times inside them.
Buffer time
On Pro, this blocks a gap between lessons so you are not sprinting from one bay to the next. Fifteen minutes is a common starting point.
Buffer time also blocks new bookings that would land inside the gap, which is the point, but remember it later when a time you expected to be open is not offered.
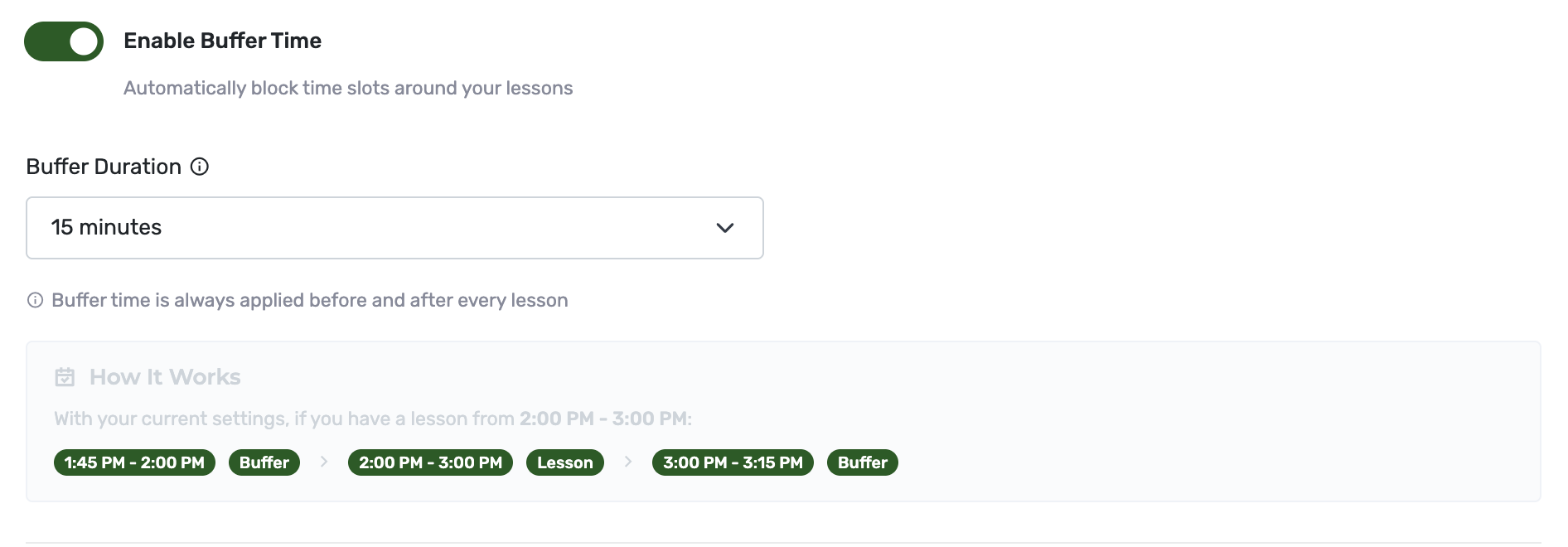
You'll know it worked: Your booking page mentions the buffer in its scheduling note, and new bookings leave that gap automatically.
Time off
Add any holidays, tournaments, vacations, or single days you will not be teaching. These override your business hours and disappear from your booking page.
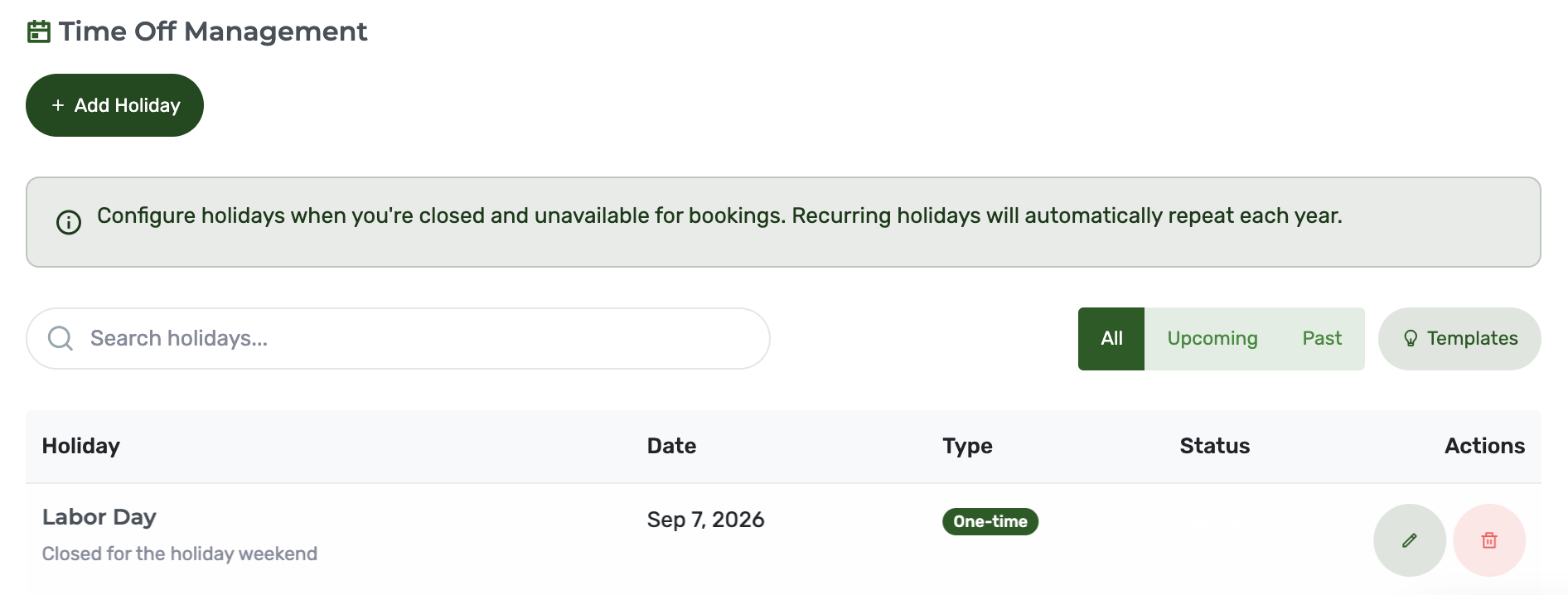
You'll know it worked: The dates you added stop being offered on your booking page.
Locations
Add the facility, range, or course where you teach. Your address appears on your public booking page, so double check the street and city before you save.
Starter includes one location. Pro includes up to three, which helps if you split between an indoor bay in winter and a range in summer.
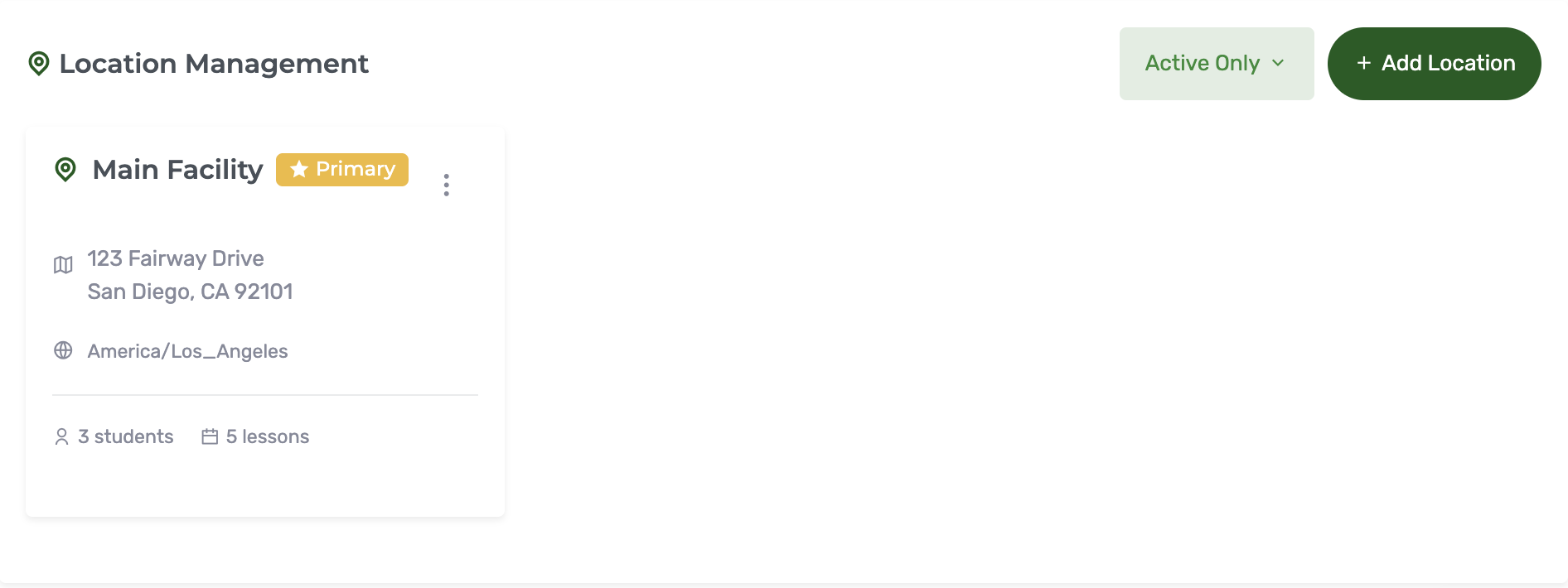
You'll know it worked: Your facility is listed under Locations, and students see the address on your booking page.
Lesson types
This is where you define what a student can book. The section has a tab per type, and each one saves separately.
Individual is available on every plan. Set duration and price. Create at least one.
Group, Recurring, Clinics, and Playing are on Pro:
- Group and Clinic types take minimum and maximum participant counts. The clinic minimum defaults to four, and you can change it.
- Recurring books a student into a block of lessons in one go.
- Playing lessons are priced per player for nine or eighteen holes, and the number of holes sets the duration.
Enter prices as positive whole numbers. A negative number will not save.
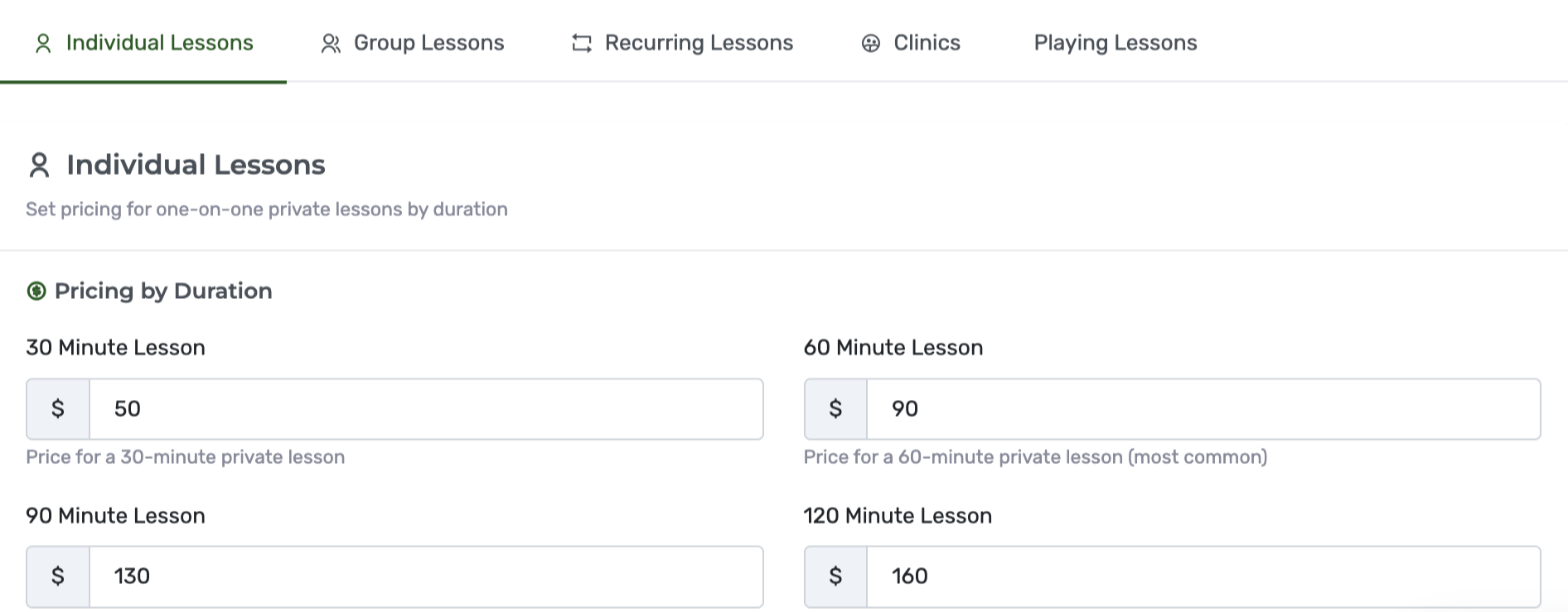
You'll know it worked: Every type you created appears as a card on your booking page with its price.
Appearance
Settings > ProfileSettings > Page Design
Upload your logo on any plan, under Settings > Profile. A square PNG with a transparent background works best. On Pro, Golf NXS also reads the colors out of your logo to theme your booking page, and you can set the brand color directly under Settings > Page Design.
Add your bio here as well. Two or three sentences: who you teach, where, and what you are known for. Students read this before they book.
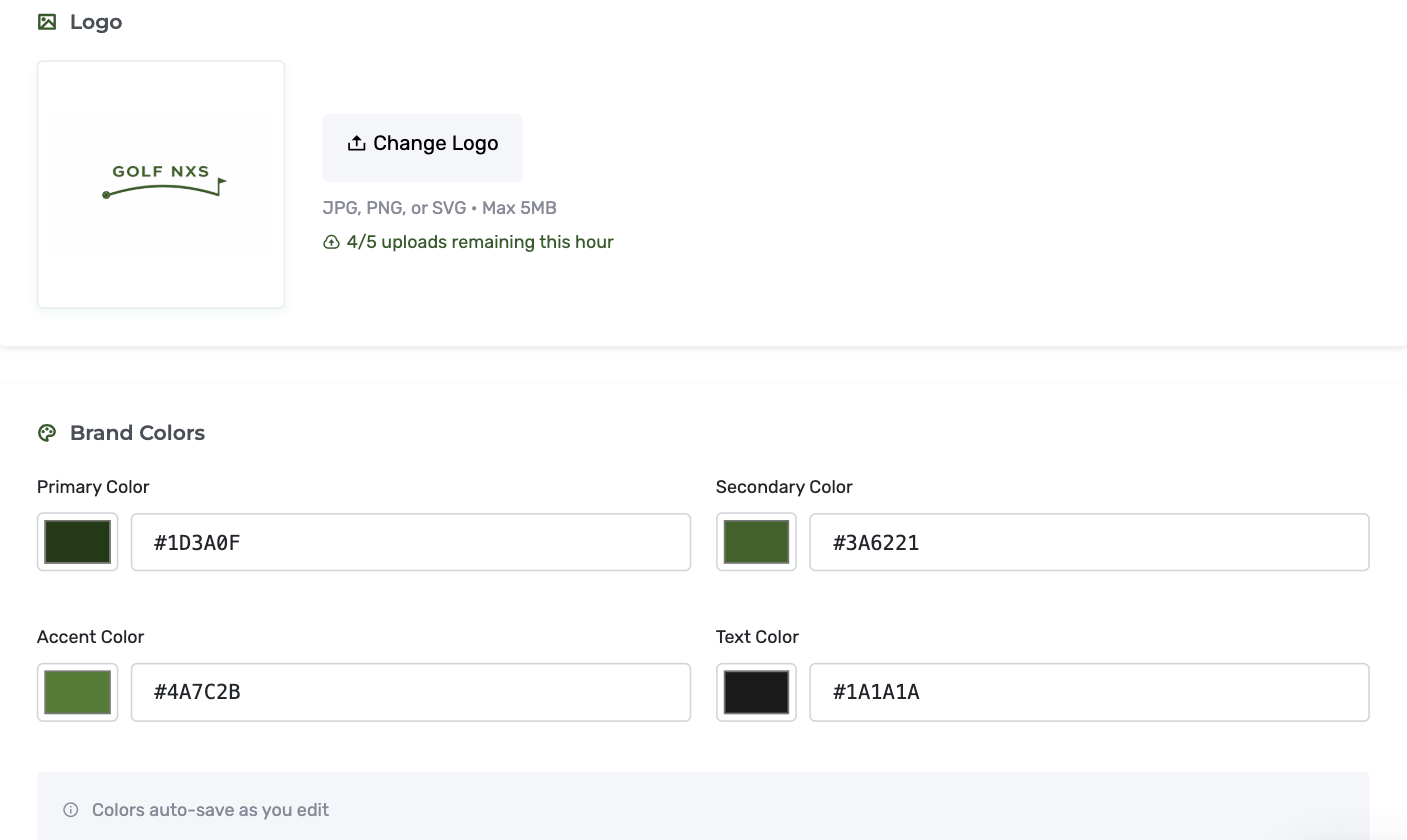
You'll know it worked: Your logo sits at the top of your booking page. On Pro, the page also picks up your brand colors.
Booking policies
Set how far ahead students can book, how much notice you require, and your cancellation policy text. Students see this on the booking page before they confirm.
This is also where you list the payment methods you accept, such as cash, Venmo, or Zelle, along with payment instructions, so students know how to pay you. To take card payments as well, connect your own Stripe account under Settings > Online Payments.
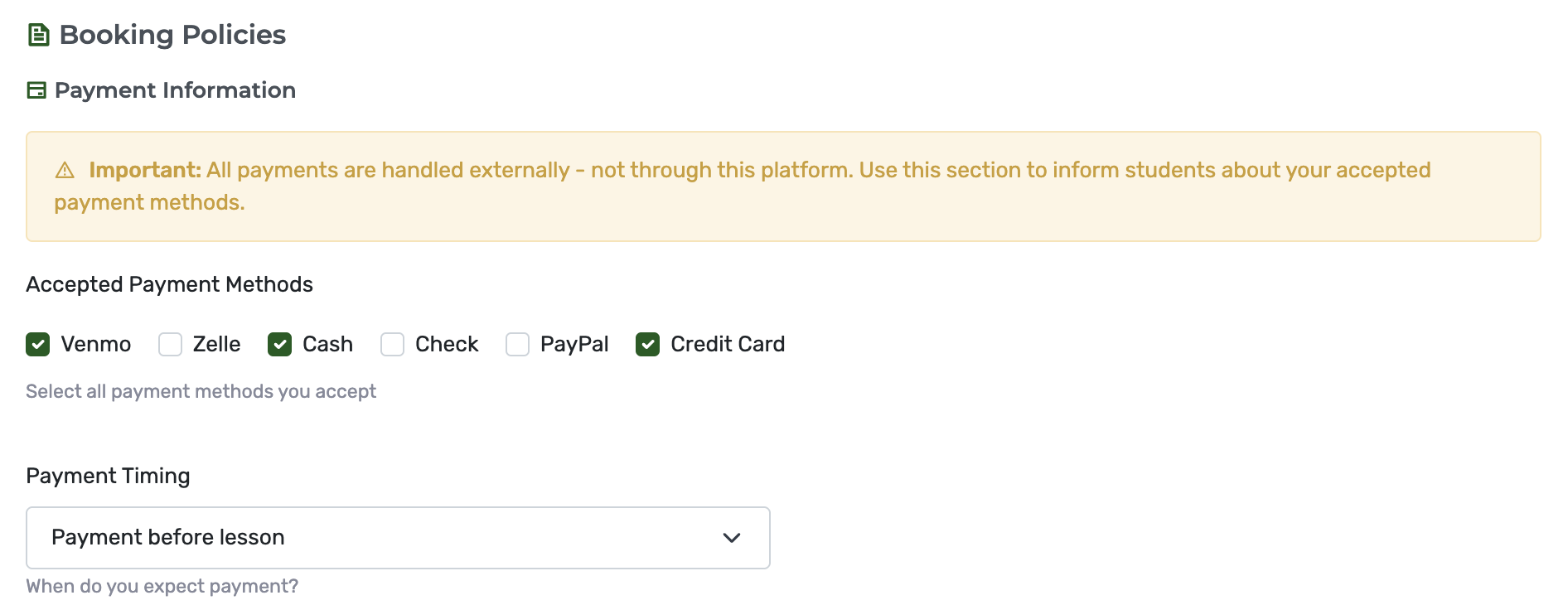
You'll know it worked: The Details panel on your booking page shows your policies before a student confirms.
Email and SMS
Settings > Email NotificationsSettings > SMS Settings
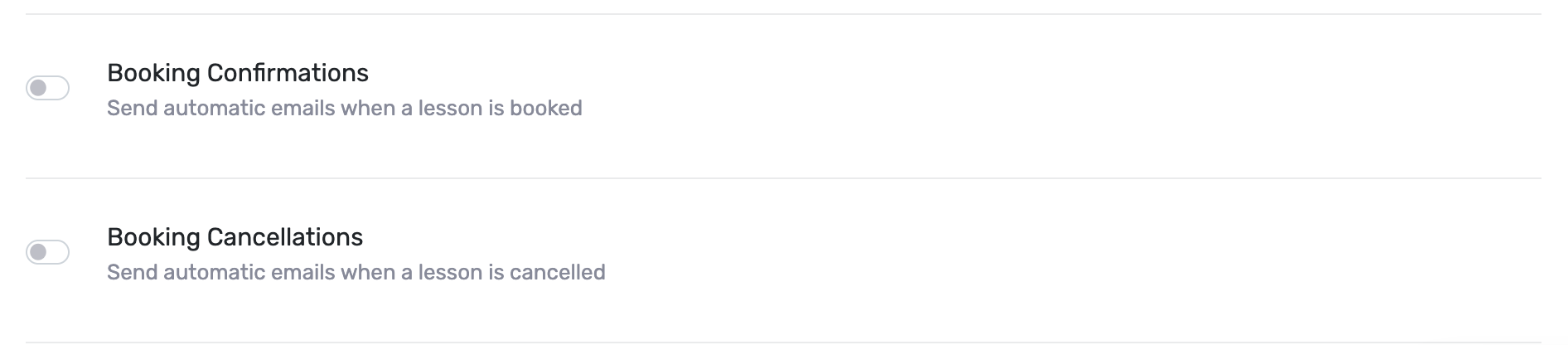
Lesson reminder emails are on from the start. Booking confirmation and cancellation emails start off, so open Email Notifications and turn them on.
With those on, a student gets an email the moment you approve a booking, a reminder the day before the lesson, and a notice if a lesson is cancelled, all without you doing anything.
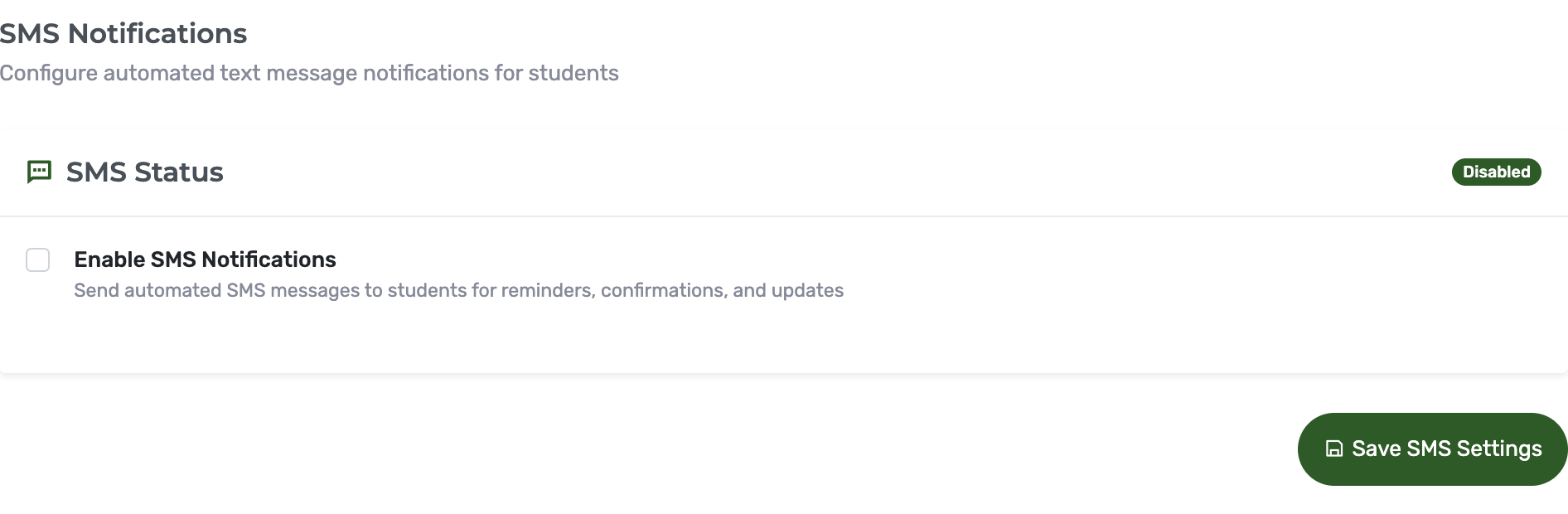
Open Settings > SMS Settings if you also want text confirmations and reminders. Students have to opt in themselves during booking. That is a legal requirement for text messaging, not a switch you can flip for them.
You'll know it worked: Both booking toggles show on, and the next booking you approve emails the student without you doing anything.
Test your own booking page
Copy your booking link, open it on your phone in a private browser window, and request a lesson as if you were a student. Then approve it under More > Requests.
Check that:
- Your page looks right on a phone screen
- The times offered match your actual schedule
- After you approve it, the confirmation email arrives (turn on booking confirmations in step 9 first) and the lesson appears on your Calendar
Then cancel the test lesson from the Lessons list.
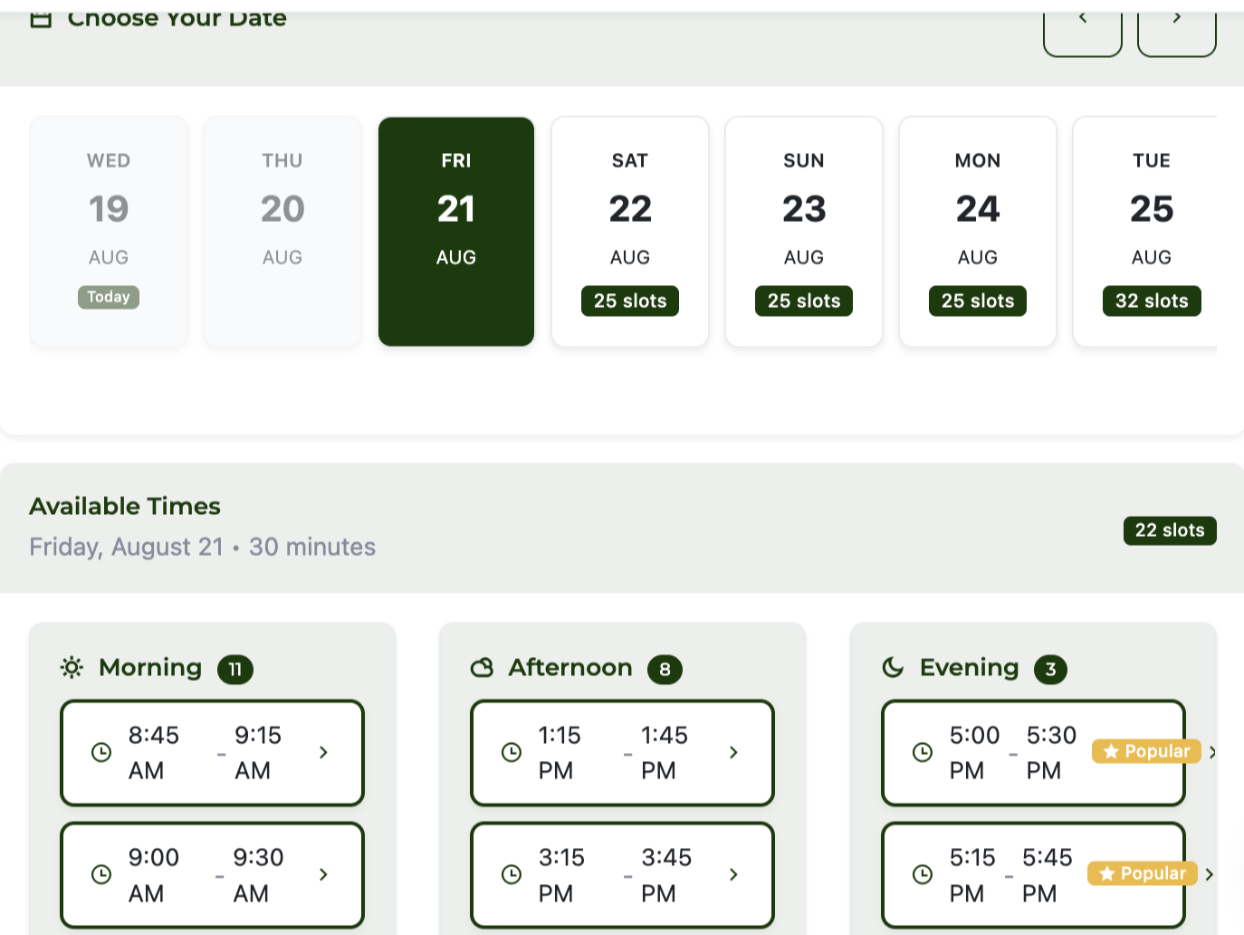
You'll know it worked: You requested a lesson end to end, approved it, saw the confirmation arrive, and cancelled it. Your page works.
Part 2: Get your link in front of studentsAbout five minutes
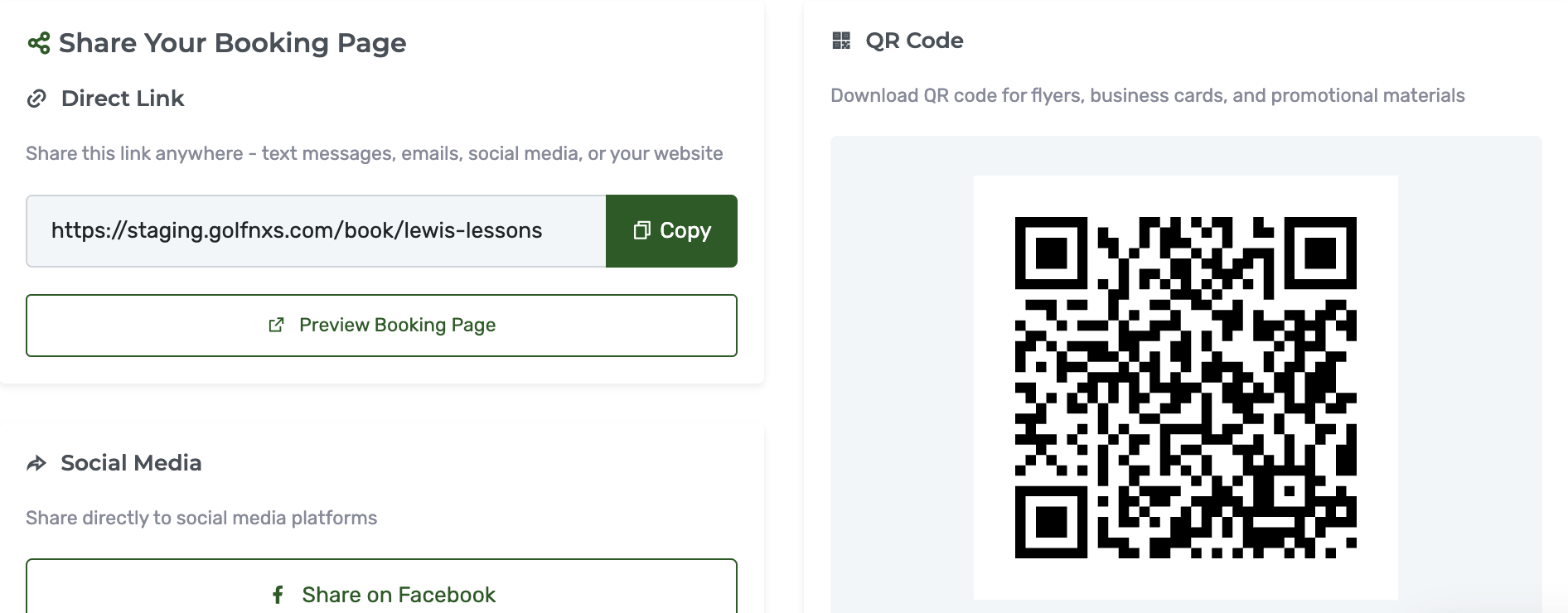
Settings > Share & Promote gives you the link and a QR code. Settings > Website Embedding gives you website options.
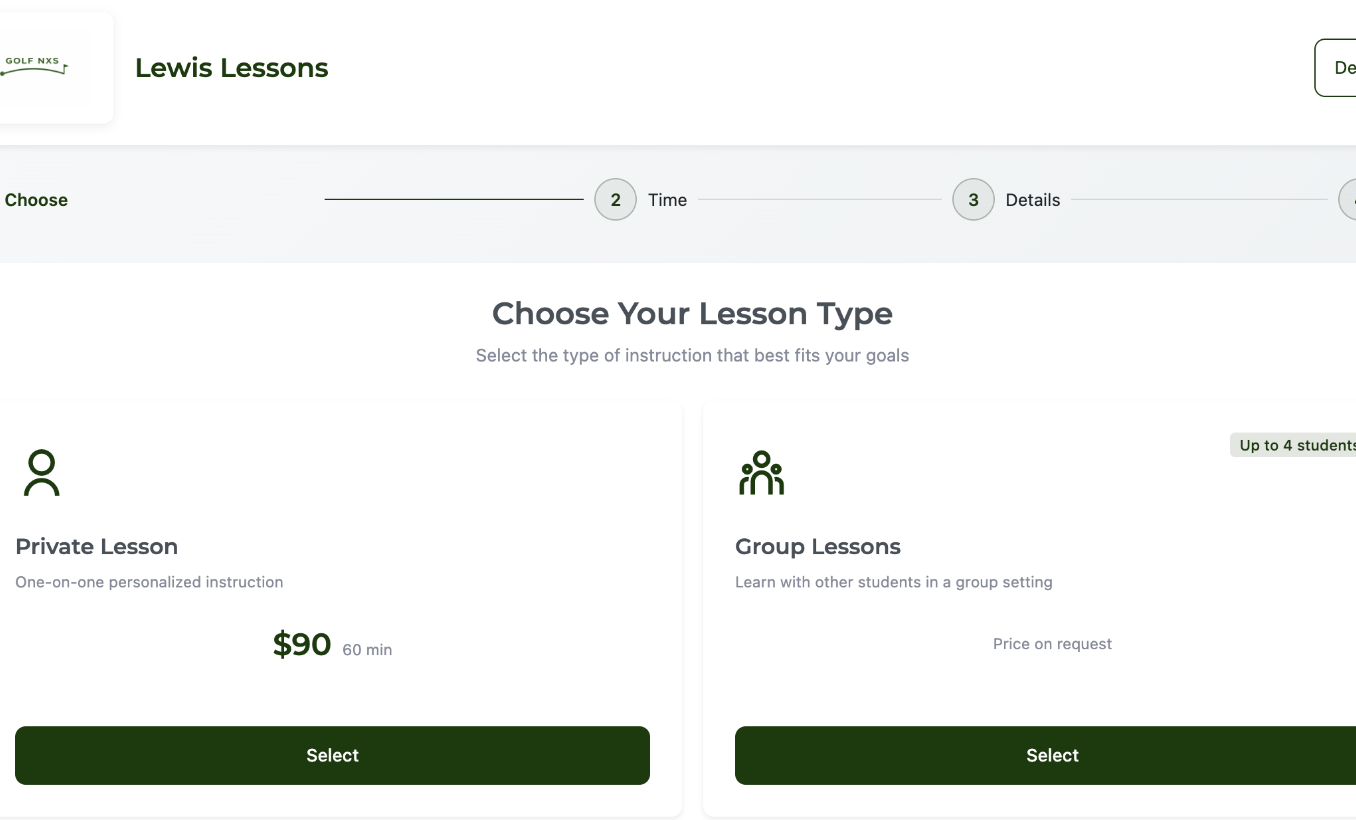
The direct link. Instagram bio, email signature, text replies. When a student asks about your availability, send the link instead of playing message tag.
The QR code. Print it on business cards, a sign at your bay, flyers, or your booth at a golf show. Students scan and book on the spot.
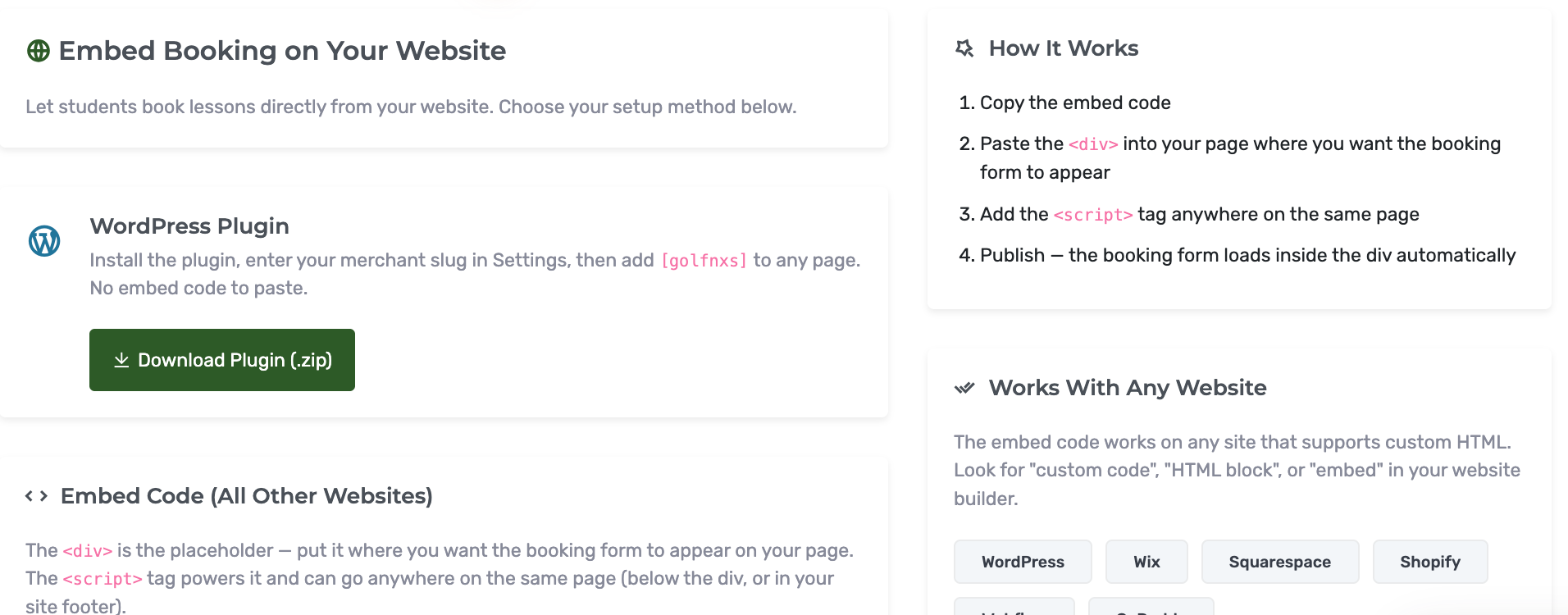
The website embed. On Pro, one line of code drops the booking flow onto your own site as an inline calendar, a floating button, or a popup.
The WordPress plugin. On Pro, if your site runs on WordPress, install the plugin instead of pasting code.
Part 3: Bring your existing students overAbout ten minutes
You have three options, and they combine well.
Let the directory fill itself. Every student whose request you approve is added automatically. If you would rather not import anything, share your link and let Students populate over the next few weeks.
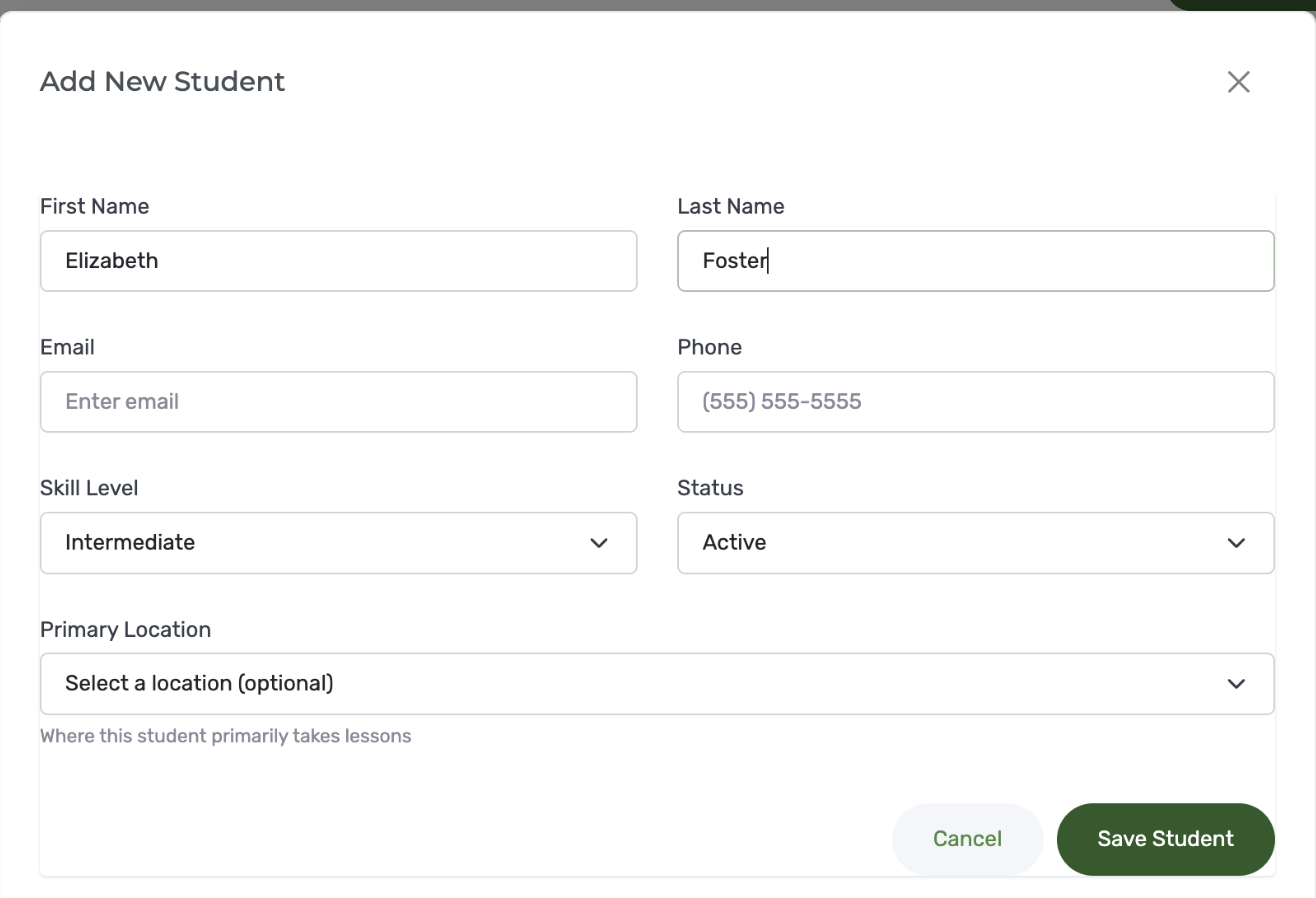
Add students one at a time. From Students, click Add Student. Store contact info, skill level, and notes. Golf NXS will stop you from adding the same email twice.
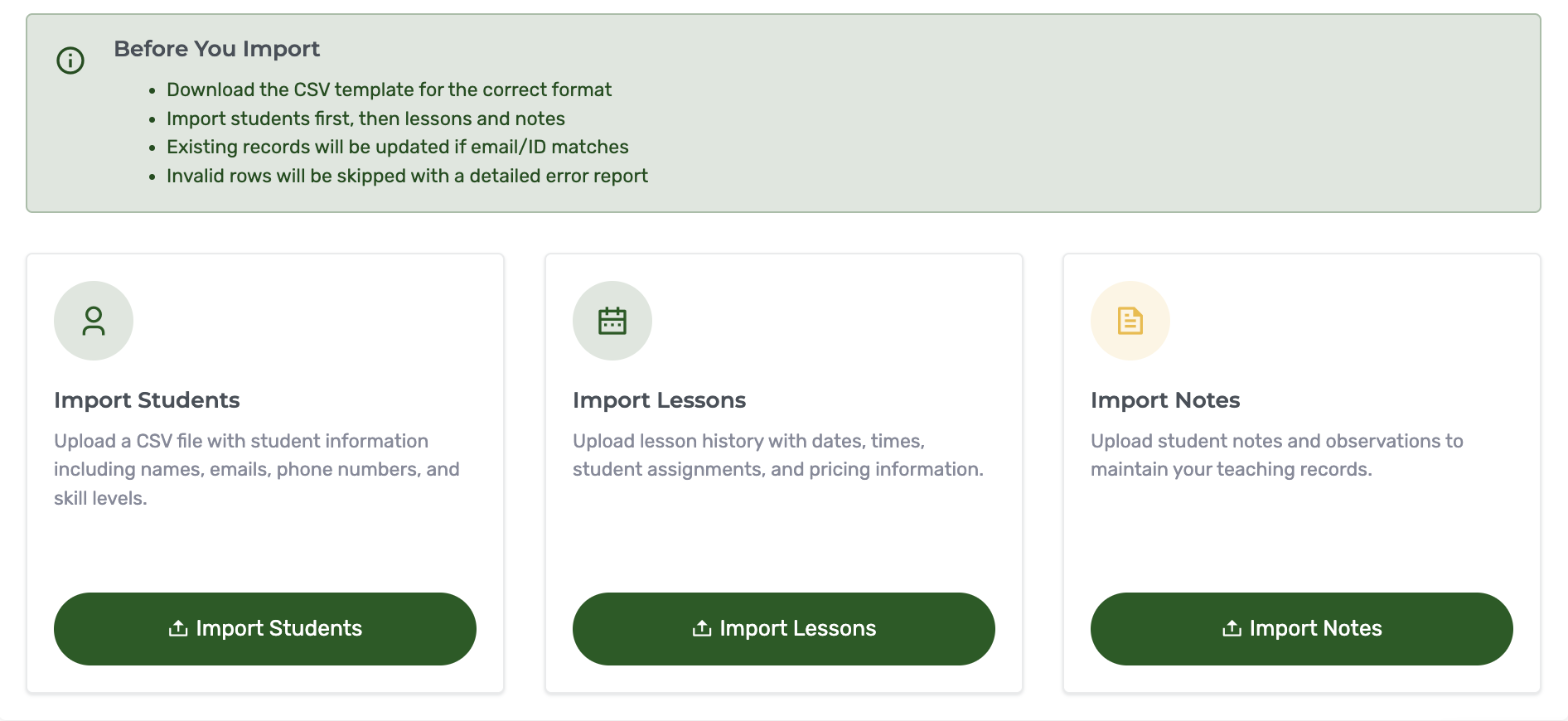
Bulk import from a spreadsheet. Settings > Data & Privacy imports students, past lessons, and notes. Download the template, fill it in, and upload. The tool validates your file first and tells you how many records are new versus updates, so you can check the count before committing. Start with five rows to confirm the format, then run the rest.
Your Students list has search, a skill level filter, and a status filter that flags inquiries, leads who have reached out but not booked.

Part 4: Running your weekRead as you go
Calendar has day, week, and month views. This is your home screen on a teaching day.
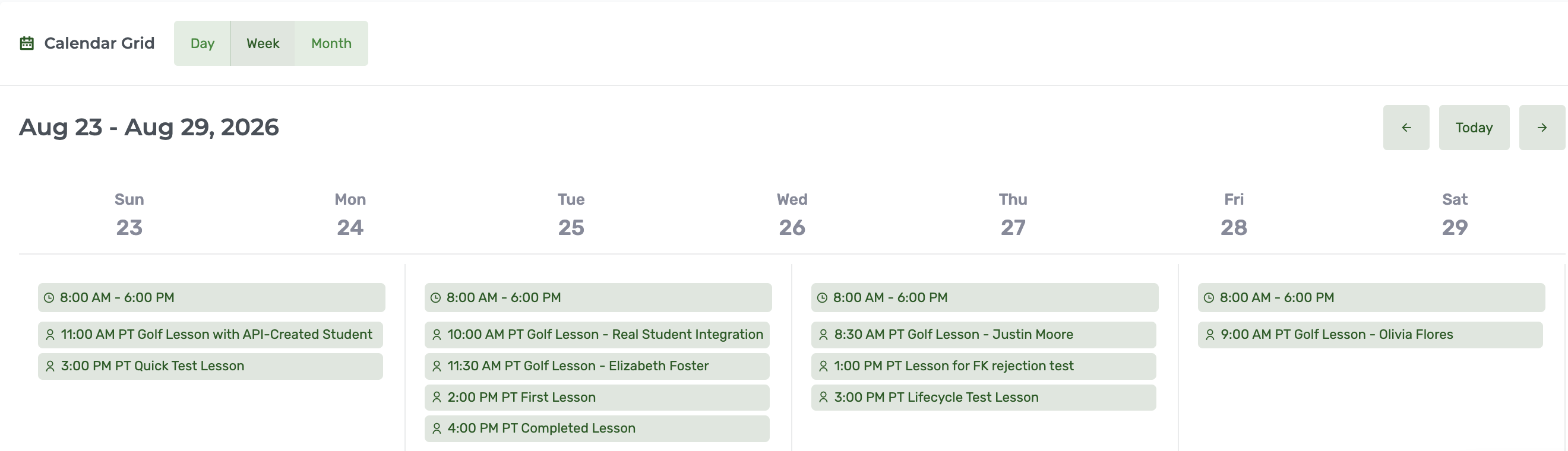
Lessons is the list view, filterable by status and type. Schedule a lesson directly here with Schedule Lesson.

Requests, under the More menu, shows booking requests waiting on your response. Approve creates the student and the lesson together. Decline requires a reason, which the student receives.
Check the date on a request before you approve it. Approval does not warn you if the requested time falls on a day you have marked closed.

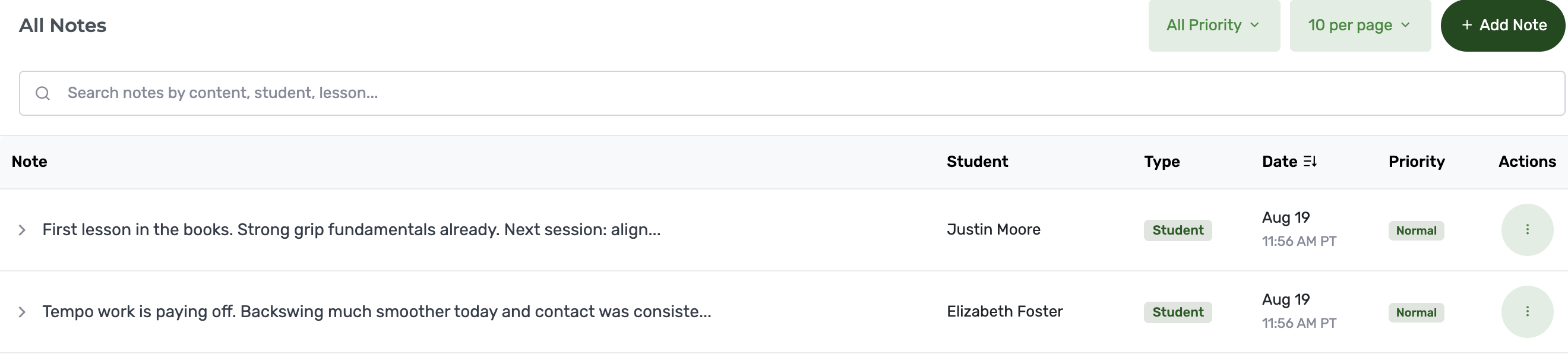
Notes is every note you have written, searchable. Notes attach to a student or a lesson, save on the record permanently, and are yours to search six months later when you cannot remember what you worked on in March.
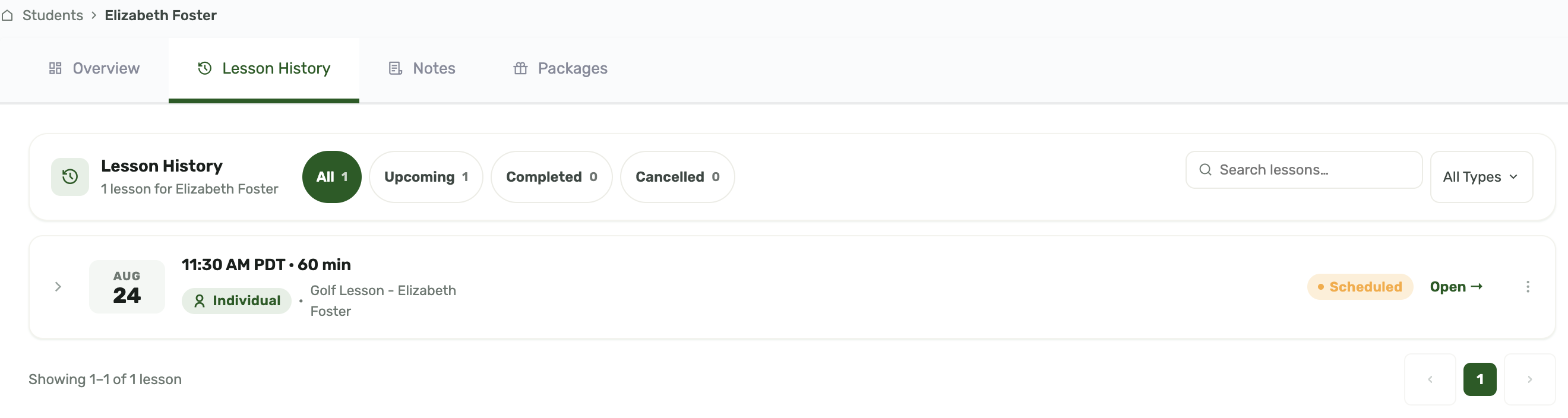
Students > [name] gives you Overview, Lesson History, and Notes for one student. Pull up Lesson History before a lesson to see where you left off.
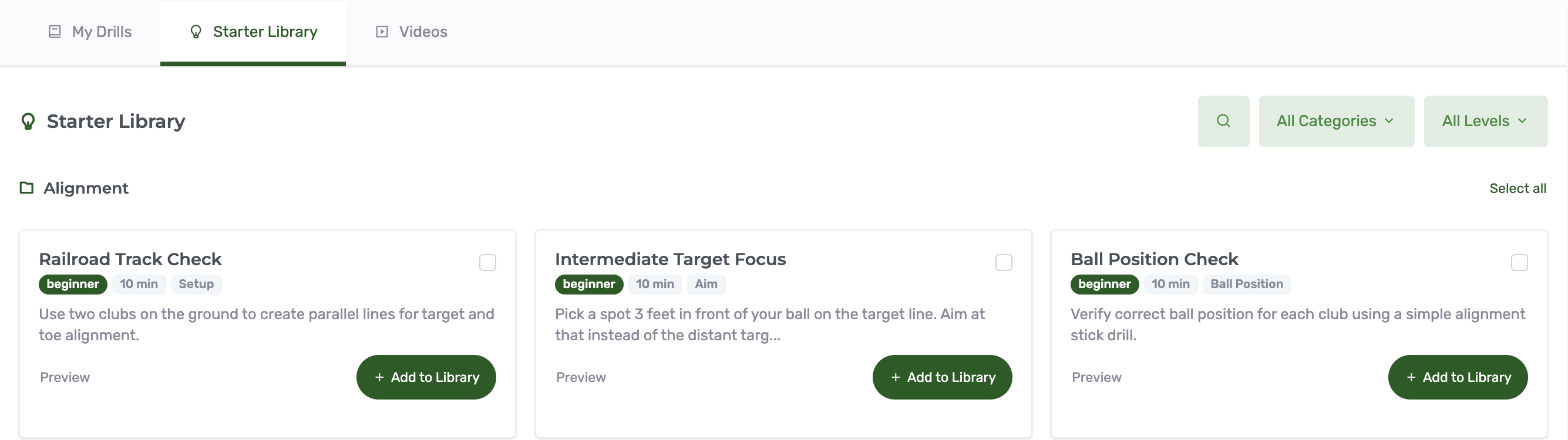
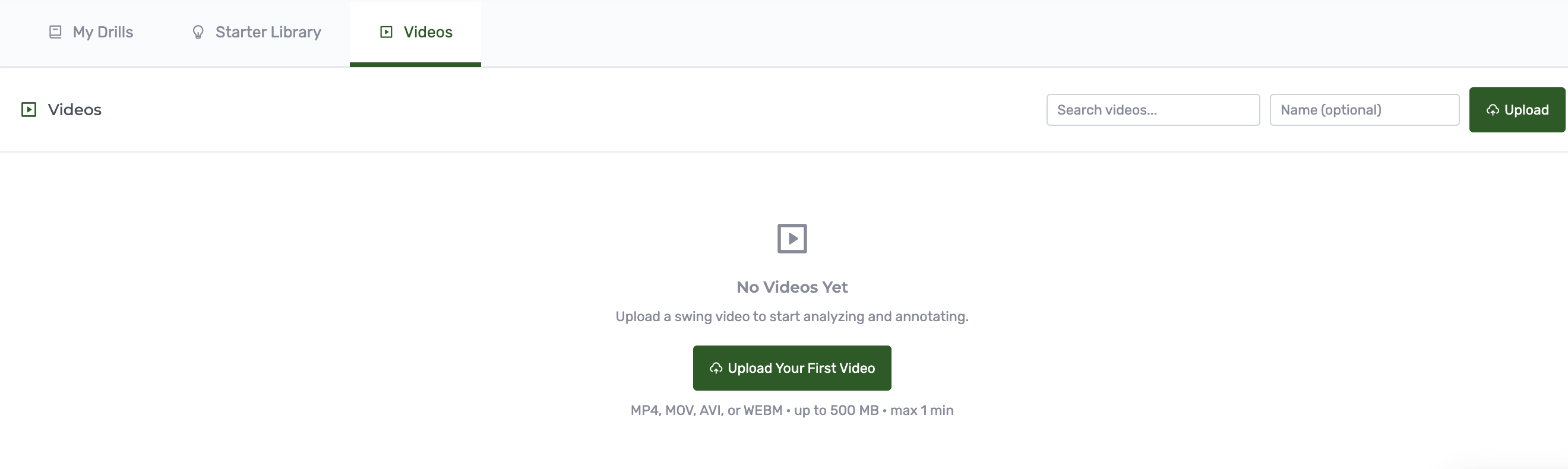
Coaching is your drill and video hub. The My Drills tab holds your drill library: import ready-made drills from the Starter Library tab in one click, then create your own with New Drill and reuse them. The Videos tab is the video tool: upload a swing video, draw on it, record audio over the top, and share it with the student.
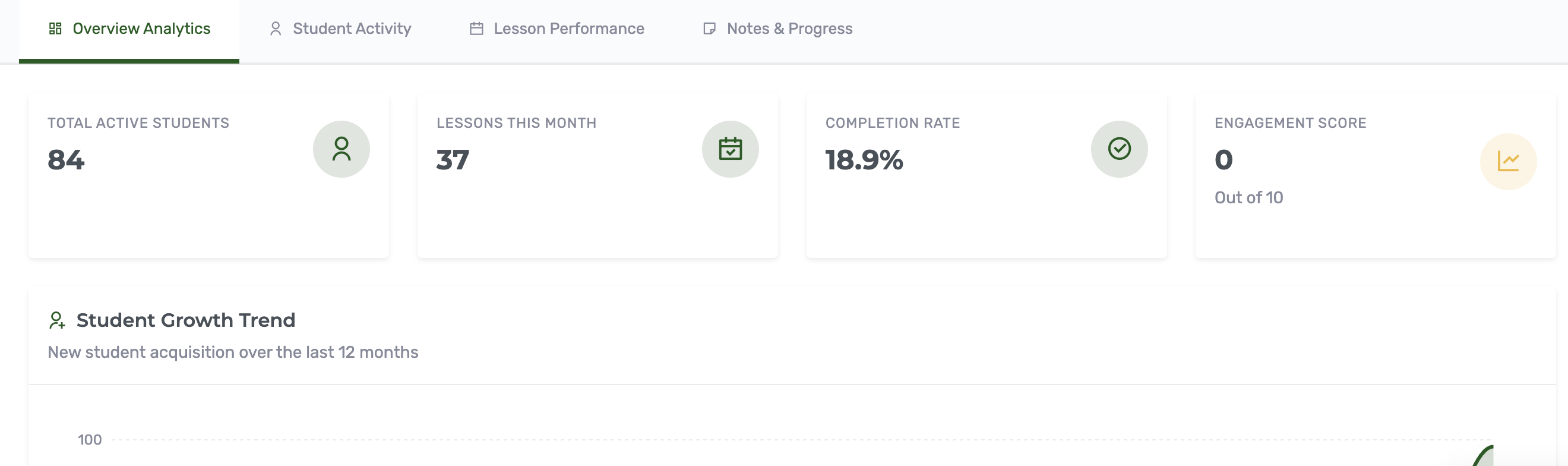
Reports, also under the More menu, covers student activity and lesson performance over time.
On your phone
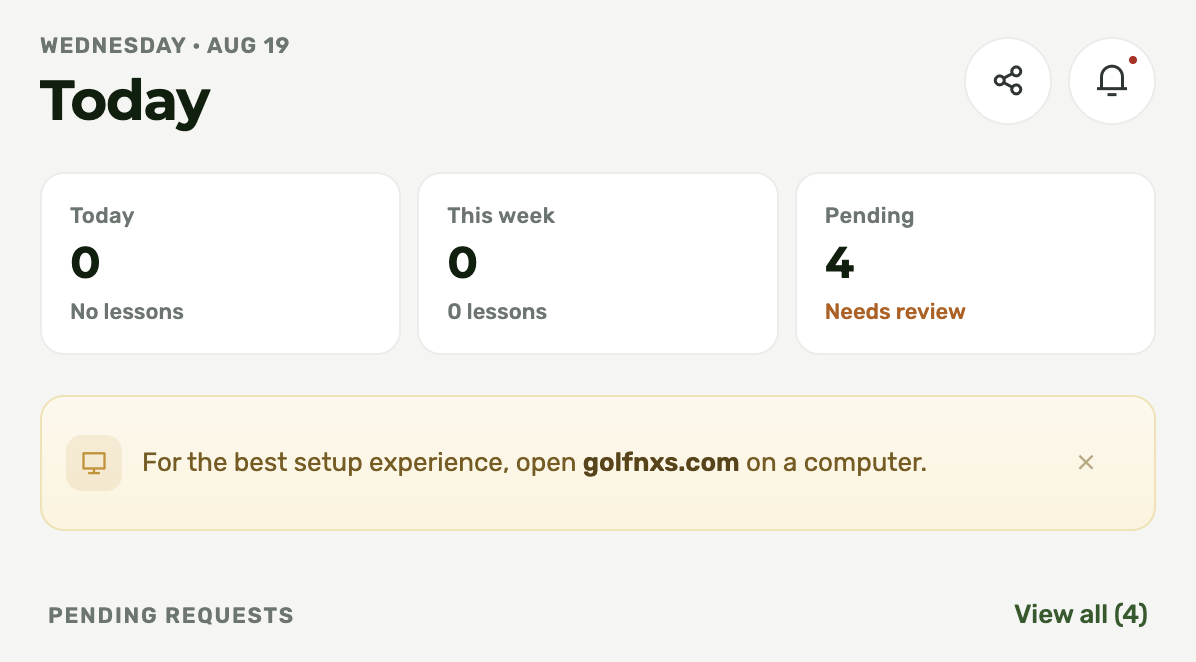
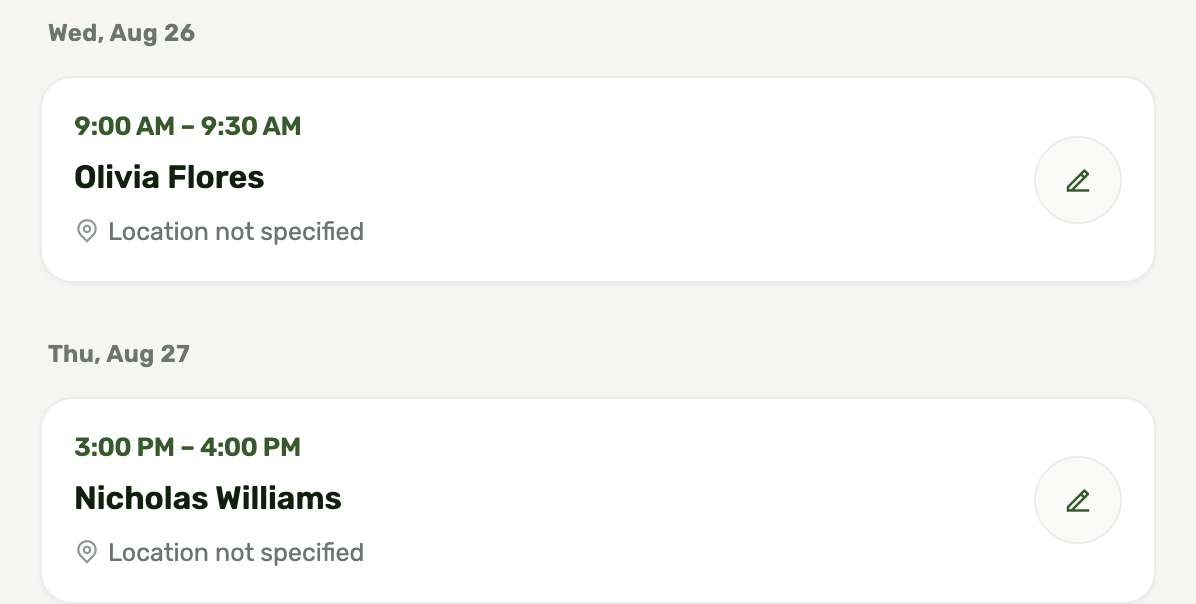
Golf NXS on your phone is built for teaching days. Open the same site in your phone's browser and you get a mobile view: see your schedule, mark lessons complete, add a note straight after a lesson, look up a student's number, approve a booking request, and check your week.
Setup lives on the desktop site. Your phone can edit business hours, time off, and locations; everything else in Settings is desktop only.
Common questions
- How do I reschedule a lesson?
- Open the lesson from your Calendar and choose Edit lesson to change the date or time. Rescheduling keeps the student, lesson type and price. Cancelling and booking a new lesson instead gives a package student their credit back.
- Can students cancel or reschedule themselves?
- Not today. Students contact you, and you cancel from your Lessons list.
- How do students pay me?
- By card, once you connect your own Stripe account under Settings > Online Payments. After you accept a booking, choose Request payment and Golf NXS emails the student a pay link (you can also copy it and text it). You can sell lesson packages and memberships from your booking page too. The money goes to your Stripe account, and Golf NXS takes no cut; Stripe's standard processing fees apply. Cash, Venmo, and Zelle still work: list them in your booking policies, and choose Mark paid when a student pays you that way.
- A time I expected to be open is not showing on my booking page.
- Check, in this order: business hours for that day, a Time Off entry covering that date, and buffer time around an existing lesson.